


You stop at a viewpoint, pull out your phone, and start recording as you walk toward the edge of the trail. The scene looks great in the moment. Later, the footage tells a different story: every step sends the frame bouncing up and down.
That does not mean you need to carry a full camera rig or buy a gimbal before your next hike. Most shaky walking footage comes from a mix of heavy footsteps, poor grip, unsuitable camera settings, and using the wrong setup for the terrain.
A few small changes can make a big difference.
This guide explains how to keep phone videos stable while walking, whether you are filming a city walk, a hiking vlog, a campsite setup, or an outdoor adventure. We will start with techniques that require no extra gear, then look at phone mounts, grips, body-mounted setups, and the situations where an action camera makes more sense.
Quick Answer: How Do You Keep Phone Videos Stable While Walking?
Hold your phone with both hands, keep your elbows close to your body, bend your knees slightly, and take shorter, softer steps. Turn on your phone’s built-in video stabilization, avoid digital zoom, and use the main or wide-angle camera when possible.
For longer walks, a phone grip or short selfie stick can make the phone easier to control. A neck mount or chest mount works well when you need your hands free. A smartphone gimbal is useful for planned cinematic shots, but it is not necessary for every travel or hiking video.
For running, cycling, skiing, and other high-impact activities, an action camera is usually easier and safer to mount than a phone.
Why Do Phone Videos Look Shaky While Walking?
Phone stabilization has improved a lot, but it still has to work with the movement you give it.
Every Step Moves the Camera Up and Down
Walking is not a perfectly level motion. Your hips and shoulders rise and fall with each step, even when the movement feels smooth to you.
Your eyes naturally compensate for that bounce. A camera records it.
The harder your feet hit the ground, the more of that impact travels through your body and into the phone.
One-Handed Filming Adds Extra Movement
A smartphone is light enough to hold with one hand, but that does not make one-handed filming stable.
Your wrist rotates, your fingers adjust their grip, and your arm swings as you walk. All of those small movements show up in the frame.
Holding the phone farther away makes the problem worse because even a slight wrist movement creates a larger change in camera angle.
Built-In Stabilization Has Limits
Modern phones use optical stabilization, electronic stabilization, or both. These systems are good at correcting small shakes and predictable motion.
They are less effective when you:
- Turn suddenly
- Walk quickly
- Step down from rocks or stairs
- Change direction mid-shot
- Run
- Hold the phone loosely
- Film in low light
Stabilization can smooth a controlled shot. It cannot turn chaotic movement into a perfectly steady one.
Zoom Makes Shake More Obvious
The more you zoom in, the more visible every movement becomes.
A clip that looks acceptable at 1x may look rough at 3x. Digital zoom can be especially unforgiving because it crops into the image and magnifies the motion at the same time.
When you need a closer shot, stop moving first or get physically closer to the subject.
Trails Are Harder Than Sidewalks
A smooth pavement gives you a predictable stride. A trail does not.
Loose stones, roots, mud, snow, sand, steep slopes, and uneven steps all force you to change your balance and foot placement. That makes stable phone video harder outdoors, even when your camera settings are correct.
For trail filming, the best results usually come from combining careful movement with a setup that suits the terrain.

How to Keep Phone Videos Stable While Walking Without Extra Gear
Before adding accessories, improve the way you move and hold the phone. These techniques help whether you are using the phone alone, a grip, or a gimbal.
Use Both Hands
Hold the phone from both sides instead of pinching it between your fingertips.
Keep your grip secure but relaxed. If your hands and forearms are tense, the camera can pick up small vibrations.
For horizontal video, try to keep both hands level. For vertical video, support the lower part of the phone with one hand while the other controls the frame.
Keep Your Elbows Close
Bring your elbows closer to your ribs instead of holding the phone at full arm’s length.
Your torso becomes a natural support point, which reduces movement from the shoulders and wrists. You can still hold the phone slightly forward, but avoid locking your arms straight.
The farther the phone is from your body, the harder it is to keep steady.
Try the “Ninja Walk”
The ninja walk is a simple technique videographers use to reduce the bounce from each step.
Bend your knees slightly, lower your center of gravity, and take short steps. Place each foot down gently and try to keep your head and shoulders at the same height as you move.
You do not need to crouch. A small bend in the knees is enough to let your legs absorb more of the impact.
It may feel awkward at first, so practice for a few seconds before recording.
Slow Down
Fast walking creates heavier steps and gives the phone less time to correct movement.
When the shot matters, shorten your stride and slow your pace. Record the clip, stop filming, and then continue walking normally.
There is no reason to film an entire trail in one take. A few clean five-second clips are usually more useful than one long, shaky sequence.
Turn With Your Body, Not Your Wrists
When you follow a person or pan toward a view, avoid twisting only your hands.
Turn your shoulders, hips, and feet together. The movement will feel slower and more deliberate, and the horizon is less likely to tilt.
Think of the phone and your chest as one unit.
Check the Route Before You Press Record
A stable shot is much easier when you know where you are going.
Look for rocks, roots, steps, water, cyclists, traffic, or narrow sections before filming. Decide where the shot starts and ends, and make sure you have a safe place to stop.
Never walk backward on an unfamiliar trail while staring at the phone screen.
Best Phone Camera Settings for Stable Walking Videos
Good technique matters most, but the right settings can give your phone a better chance of producing smooth footage.
Turn On Video Stabilization
Look through your phone’s camera settings for features such as:
- Video stabilization
- Enhanced stabilization
- Action mode
- Super steady
- Active stabilization
Stronger stabilization modes often crop the image slightly so the software has room to correct movement.
They may also limit resolution, frame rate, or lens options. Test the mode before an important trip, especially if you plan to film in low light.
Start With the Main Camera
The main wide camera is usually the safest choice for walking footage. It tends to offer better image quality and low-light performance than the ultra-wide camera.
An ultra-wide lens can move look less noticeable and capture more of the environment, but it may introduce edge distortion or softer image quality.
Use it when the light is good and the wider perspective adds something to the shot.
Choose Frame Rate Based on the Scene
For general travel and hiking footage, 4K at 30fps is a solid starting point.
Use 60fps when:
- The subject is moving quickly
- You want to slow the footage down later
- You are filming in bright daylight
- You prefer a smoother motion look
Higher frame rates need more light. In a shaded forest or near sunset, 30fps may give you a cleaner image.
Recording at 60fps does not remove shake by itself. It simply changes how motion is captured.
Avoid Zooming While You Walk
Zooming while moving makes framing harder and exaggerates small shakes.
Instead, stop walking, move closer, switch lenses, or capture the close-up as a separate shot.
Keeping the walking shot wide also gives editing software more room to stabilize the footage later.
Lock Focus and Exposure When Needed
If your subject moves between shade and sunlight, the phone may constantly adjust focus and brightness.
That can make the footage feel unstable even when the camera is physically steady.
Tap and hold on the subject to lock focus and exposure when your camera app allows it. Unlock and adjust again if the lighting changes significantly.
Clean the Lens
Outdoor filming puts sweat, sunscreen, dust, rain, and fingerprints on the lens quickly.
A dirty lens makes footage look hazy and lowers contrast. No amount of stabilization will fix that.
Carry a small microfiber cloth in an easy-to-reach pocket.
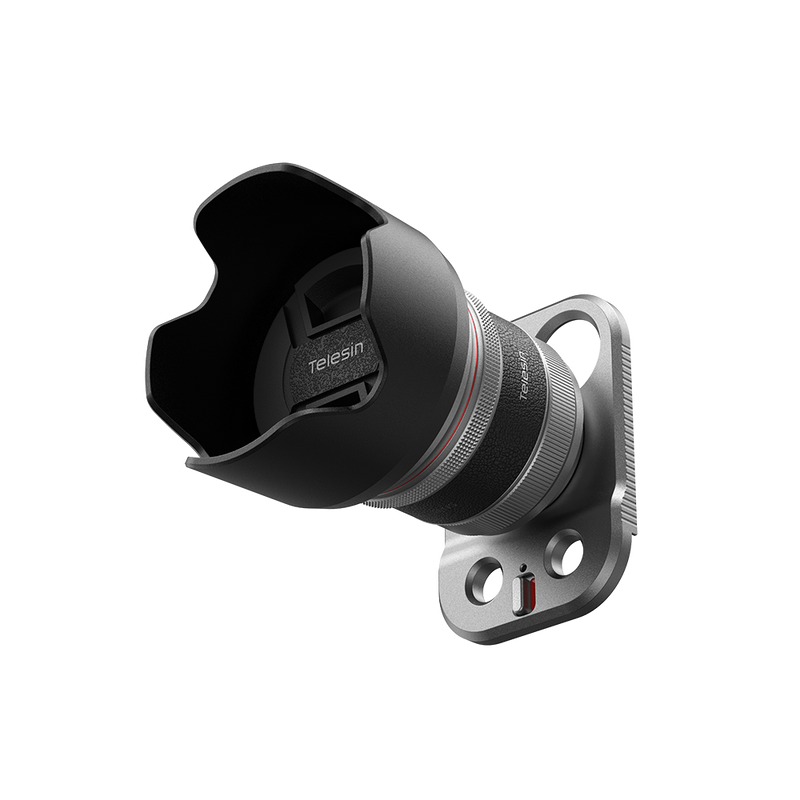
TELESIN Master Portrait Grip Kit for iPhone 17 Pro / Pro Max
telephoto lens attachment for iphone
$99.99
Buy NowUse Phone Accessories to Get More Stable Walking Footage
You do not need the most complicated stabilizer. You need a setup that fits the way you shoot.
For some users, that means a simple grip. For others, it means a hands-free mount or a switch to an action camera.
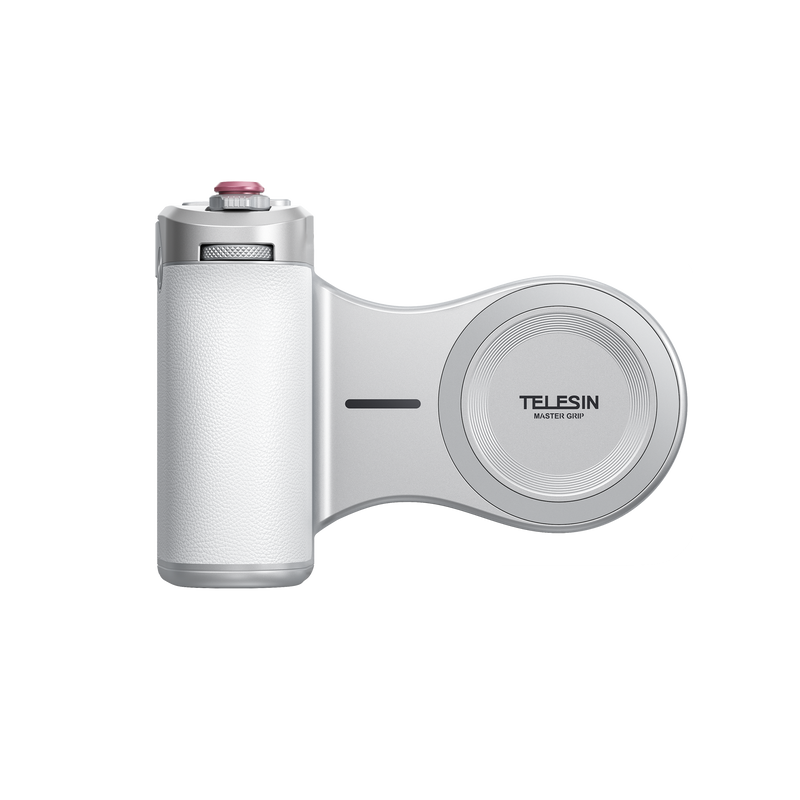
Phone Grip or Stabilizing Handle
A phone grip gives your hand more surface area and makes the device easier to control.
It can reduce wrist fatigue, finger movement, and the chance of dropping the phone. It is especially useful for travel vlogging, campsite walkthroughs, and short hiking clips.
A grip does not actively stabilize the phone, but it often improves your posture and control enough to make a visible difference.
TELESIN phone grips and compatible mounting accessories are useful for creators who want a compact setup that can move between handheld shooting and fixed positions without carrying a large rig.
Selfie Stick and Tripod
A selfie stick helps you include more of the landscape or create a wider selfie shot. It can also work as a simple follow-cam tool.
The mistake is extending it too far while walking.
A fully extended pole magnifies every hand movement. For steadier footage, keep it partly collapsed, hold it closer to your body, and avoid sudden turns.
A selfie stick with a tripod base gives solo creators more options. You can film a short introduction, place the phone on stable ground, walk through the frame, and then pack up again.
This kind of multi-use setup is often more practical outdoors than carrying separate tools for every shot.
Neck Mount
A phone neck mount makes sense when the activity matters more than the camera operation.
It works well for:
- Hiking
- Cooking outdoors
- Setting up camp
- Demonstrating equipment
- First-person tutorials
- Hands-free travel clips
Because the phone sits close to your upper body, it follows your movement. That means it will not completely remove the bounce from walking.
To improve the result, keep your steps short, adjust the angle before you start, and record a quick test. A safety tether is a smart addition near water, steep slopes, or exposed terrain.
A TELESIN neck mount can be a practical choice for creators who need quick, hands-free access without stopping to set up a tripod.
Chest Mount
A chest-mounted phone can feel more secure than holding it at arm’s length, especially on longer walks.
It is useful when you need both hands for trekking poles, climbing over obstacles, or handling gear.
The key is getting the angle right. Too low, and the video shows mostly the ground. Too high, and the important action may disappear below the frame.
Set the mount while standing in your normal posture, then record a short walking test before committing to a longer clip.
When using a TELESIN chest-mount setup or phone adapter, confirm that the phone fits securely and that the mount can handle the device’s weight.
Smartphone Gimbal
A powered gimbal is the best option when you want controlled, cinematic movement.
It is useful for:
- Following a person
- Smooth reveal shots
- Orbiting around a subject
- Walking tours
- Longer planned takes
A gimbal also adds weight, needs power, and takes time to set up. It may not be the best choice for rain, snow, dust, or technical trails.
For a city shoot, it can be worth carrying. For a long hike, a smaller grip or body mount may be the better compromise.
Safety Tether
A phone that falls on a sidewalk may be damaged. A phone that falls near a river, cliff, ski slope, or boat may be gone.
Use a safety tether whenever a drop would be difficult or dangerous to recover from.
Before moving, check that the clamp is tight, the phone case does not affect the grip, and no buttons are being pressed by the holder.
In higher-risk situations, attach the tether to a second secure point rather than relying on the same connection as the main mount.
Which Setup Works Best for Your Activity?
The right setup depends on how fast you are moving, how rough the terrain is, and whether you need your hands free.
|
Activity |
Recommended Setup |
Best Use |
|
Travel walking |
Two-handed grip or compact handle |
Casual travel clips and talking shots |
|
Hiking |
Short selfie stick, neck mount, or chest mount |
Trail footage and hands-free POV |
|
Camping |
Tripod plus body mount |
Tutorials, gear setup, and fixed shots |
|
Cinematic follow shots |
Smartphone gimbal |
Smooth tracking and planned movement |
|
Trail running |
Action camera with secure body mount |
Fast, repetitive movement |
|
Skiing or cycling |
Action camera with activity-specific mount |
High-speed and high-impact footage |
Walking and Travel Vlogging
Keep it simple.
Use the phone’s built-in stabilization, hold it with both hands, or add a compact grip. A short selfie stick can help with framing, but there is rarely a need for a large rig.
Hiking and Backpacking
On a trail, portability matters as much as image quality.
A neck mount or chest mount works well when you need trekking poles or want to record first-person footage. A compact tripod is useful for scenic shots and solo walk-bys.
Choose accessories you can deploy quickly. The best hiking setup is one you will actually use.
Trail Running
Trail running creates repeated impact that is difficult for a phone setup to absorb.
A phone is also large, relatively heavy, and vulnerable to drops. An action camera with a secure body mount is usually the better tool.
TELESIN’s action-camera mounting options can help create a lighter, more activity-focused setup for running and other high-movement sports.
Camping and Outdoor Tutorials
Camping content often looks better when you use multiple angles.
A simple combination could include a tripod for the wide shot, a neck or chest mount for the first-person view, and a handheld grip for close-ups.
This gives the edit more variety and removes the pressure to make one long take do everything.
Skiing, Cycling, and High-Speed Sports
Do not hold a phone while doing an activity that requires both hands and full attention.
Use the phone before or after the activity for commentary, maps, and stationary shots. Use an action camera with a secure mount for the movement itself.
That split is safer and usually produces better footage.
Step-by-Step Outdoor Phone Stabilization Setup
A quick setup check can save an entire day of unusable clips.
Step 1: Decide What the Shot Is
Are you filming a selfie introduction, a first-person view, a landscape reveal, a gear demonstration, or someone walking ahead?
The shot should determine the setup, not the other way around.
Step 2: Choose the Smallest Tool That Works
Use a grip for handheld control, a short selfie stick for wider framing, a tripod for fixed shots, and a body mount when you need both hands.
Use a gimbal only when the shot actually benefits from powered stabilization.
Step 3: Check Compatibility
Make sure the phone fits the holder with its case on.
Check that:
- The lenses are clear
- The clamp does not press any buttons
- The mount supports the phone’s weight
- The phone can be used in the required orientation
- The connection remains tight when you move
This matters even more when you combine a phone adapter with an action-camera mount.
Step 4: Set the Camera Before You Start
Choose the lens, resolution, frame rate, stabilization mode, and orientation while standing still.
Trying to change settings on a rough trail usually creates rushed decisions and poor framing.
Step 5: Record a Test Clip
Walk for 10 to 15 seconds, then review the video.
Check the horizon, camera angle, unwanted bounce, mount noise, and phone security.
A small adjustment now is much easier than discovering the problem after the trip.
Step 6: Add Secondary Retention
If you are near water, a steep drop, or fast-moving equipment, attach a safety tether before you start.

Common Mistakes That Make Walking Videos Shaky
Holding the Phone With One Hand
One hand gives the wrist too much freedom.
Use both hands, add a grip, or switch to a body mount when you need one hand free.
Extending the Selfie Stick Too Far
The longer the pole, the more it amplifies movement.
Keep it short while walking and extend it only when you are stationary.
Walking Too Fast
Speed adds impact.
Slow down for the shot, take smaller steps, and record several short clips instead of one long take.
Using Too Much Zoom
Zoom magnifies movement.
Stay wide while walking and save telephoto shots for moments when you can stop.
Relying on Software Alone
Software stabilization works best with footage that is already under control.
It can reduce small shakes, but it cannot fix every hard step, sudden turn, or loose mount.
Using a Mount That Barely Fits
“Almost secure” is not secure enough outdoors.
Check the phone size, case thickness, clamp position, and connection before every trip.
Watching the Screen Instead of the Trail
Keep checking where you are going.
Stop filming before crossing a road, stepping onto technical terrain, or moving near a steep edge.
A Simple Stability Test Before Your Next Trip
You can compare setups without special equipment.
Use the same phone, lens, camera settings, walking route, and pace for each test.
Test 1: Normal Handheld Filming
Walk for 15 seconds while holding the phone the way you normally would.
This gives you a baseline.
Test 2: Two Hands or a Grip
Repeat the route using both hands or a stabilizing handle.
Look for less wrist movement, a steadier horizon, and more consistent framing.
Test 3: Short and Fully Extended Selfie Stick
Film one clip with the pole partly collapsed and another with it fully extended.
The shorter setup will usually be easier to control.
Test 4: Neck Mount or Chest Mount
Walk the same route with a body-mounted setup.
Check the angle, vertical bounce, comfort, and whether the shot captures what you intended.
This quick comparison will tell you more than choosing a setup based on product photos alone.
How to Smooth Walking Footage in Editing
Editing can help, but it should refine the footage rather than rescue it.
Apply Stabilization Lightly
Most editing apps include some form of video stabilization.
Start with a low or medium setting. Strong stabilization can crop the image heavily or create warped edges.
Leave Room Around the Subject
Stabilization software needs space to reposition the frame.
Avoid placing faces or important details right at the edge while filming.
Use Short Clips
A clean five-second walking shot is usually more effective than a shaky 30-second one.
Mix it with fixed landscape shots, close-ups, trail details, and POV footage.
Watch for Warping
If trees, buildings, or the edge of the frame start bending unnaturally, reduce the stabilization strength.
A small amount of natural movement often looks better than aggressive software correction.
When Should You Use an Action Camera Instead of a Phone?
A phone is a great everyday camera, but it is not the best tool for every outdoor activity.
Use a Phone for Everyday Walking and Travel
A phone is ideal for:
- Walking tours
- Travel updates
- Landscape clips
- Campsite videos
- Talking to camera
- Quick editing and social sharing
It is easy to access and works well in a controlled environment.
Use an Action Camera for High-Impact Activities
An action camera makes more sense for:
- Mountain biking
- Trail running
- Skiing
- Climbing
- Kayaking
- Surfing
- Mud, rain, and snow
- Situations with a high risk of impact
Its smaller size makes it easier to mount securely and less intrusive during movement.
TELESIN offers action-camera mounts, poles, body mounts, and protective accessories for creators who need a setup that can handle more demanding environments.
Use Both
You do not have to choose one camera for the entire trip.
Use the phone for introductions, planning, landscape shots, and quick social posts. Use the action camera for POV footage, water, speed, and high-risk sections.
A drone can add wide establishing shots where local rules and conditions allow safe flight.
The best outdoor kit is not the one with the most gear. It is the one that gives each device a clear job.
Recommended TELESIN Setups for Outdoor Phone Filming
Lightweight Walking Setup
Best for travel, city walks, and easy trails:
- Secure phone clamp
- Compact grip
- Mini tripod or grip-tripod combination
- Small safety strap
This setup keeps the phone easy to access while giving you more control than holding it alone.
Hands-Free Hiking Setup
Best for hiking, backpacking, and campsite tasks:
- TELESIN neck mount or chest-mount solution
- Compatible phone holder
- Safety tether
- Compact tripod for fixed shots
It works well when filming needs to fit around the activity rather than interrupt it.
Multi-Angle Creator Setup
Best for outdoor creators using both a phone and an action camera:
- Selfie stick and tripod combination
- Phone clamp
- Action-camera adapter
- Quick-release mounting accessories
- Body-mounted POV option
This makes it easier to switch between selfie, handheld, fixed, and first-person angles.
Extreme Outdoor Setup
Best for skiing, cycling, running, and water sports:
- Keep the phone for safe, stationary moments
- Use an action camera for movement
- Choose an activity-specific TELESIN mount
- Add a safety tether
- Check every connection before starting
In extreme conditions, secure mounting matters more than getting the most cinematic angle.
Final Takeaway
Stable walking footage starts with how you move.
Use both hands, keep the phone close, take softer steps, slow down, and avoid zooming while walking. Set the camera before you start and record a short test whenever you change the mount or terrain.
Then choose the gear that fits the activity.
A grip may be enough for a travel walk. A selfie stick and tripod can help solo creators capture more angles. A neck or chest mount is useful when you need your hands free. A gimbal works best for planned cinematic shots.
For fast or high-risk activities, switch to an action camera and a secure mount rather than forcing the phone into a job it was not designed to do.
TELESIN builds durable, easy-to-use accessories for smartphones, action cameras, drones, and outdoor creators. The right setup should make filming feel simpler—not pull your attention away from the experience you came to capture.

